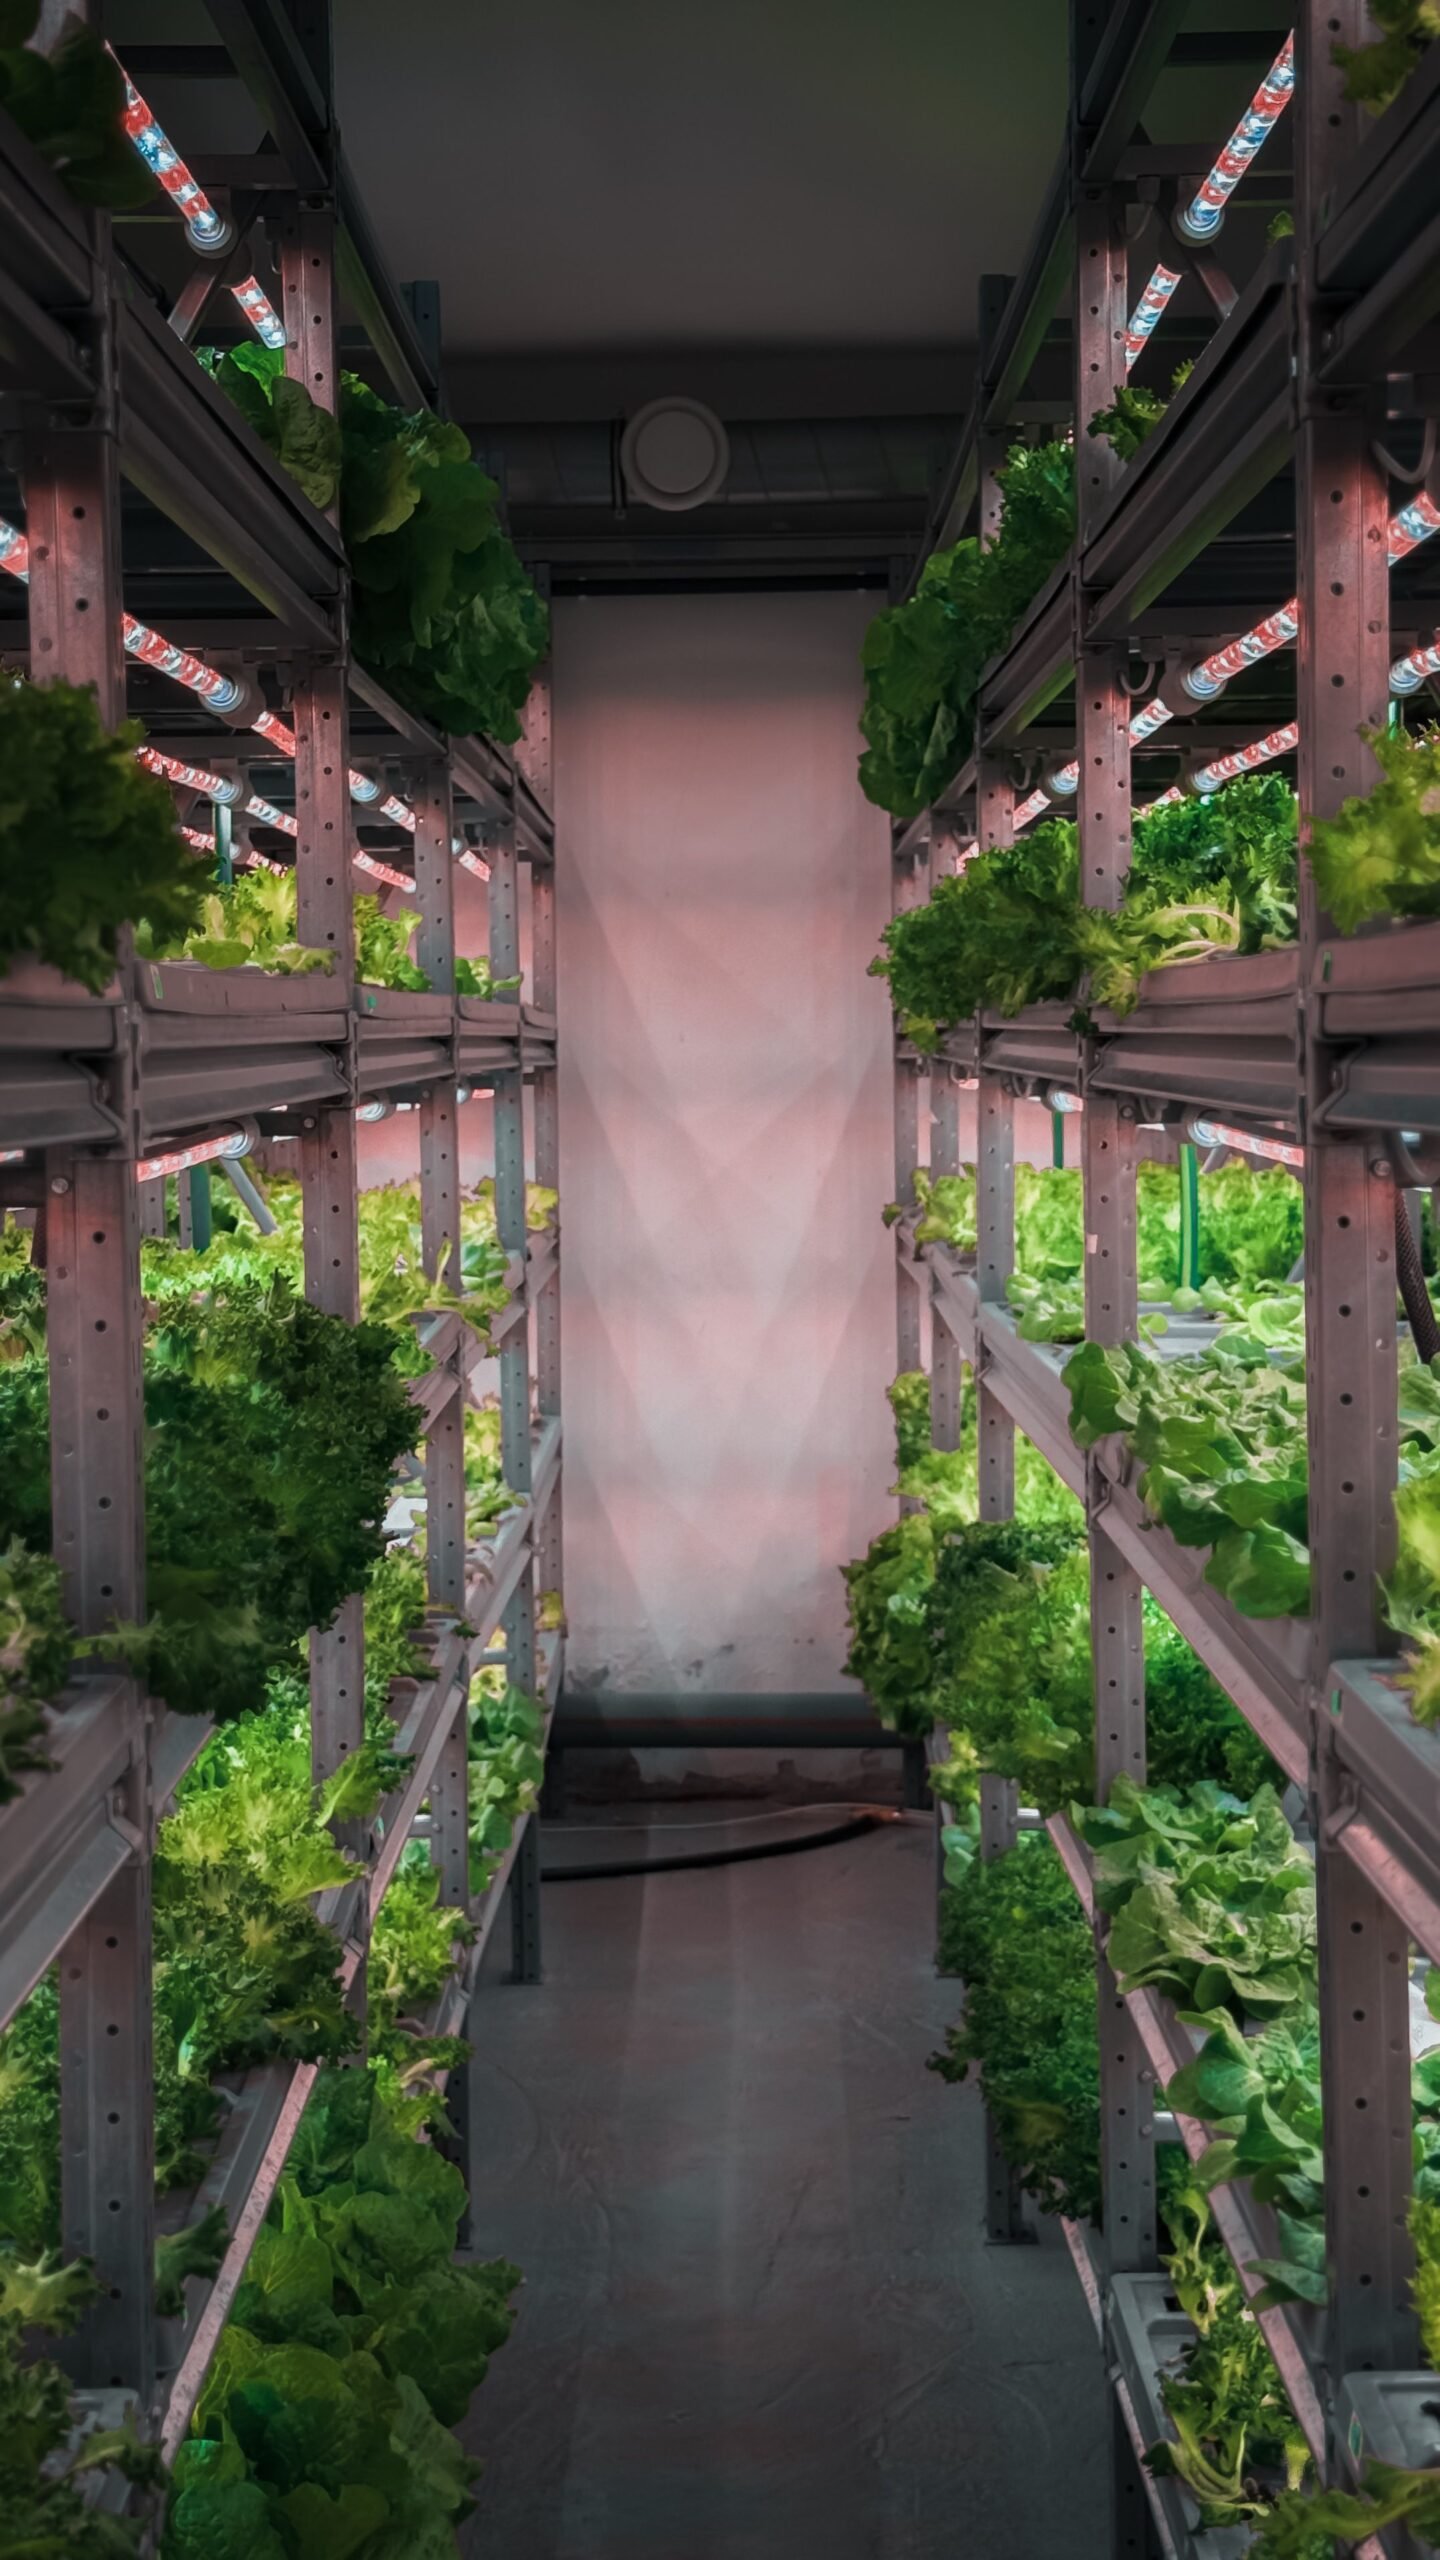
A rack can make microgreens much easier to manage—but only if it is designed around the work you actually do. Capacity matters less than whether you can water, move, inspect and harvest every tray comfortably.
Start with tray access
Decide how many trays you want under light at the same time, then leave enough vertical clearance to lift trays, bottom-water and work without removing half the shelf.
Wire shelving is popular for a reason
Recent grower discussions repeatedly favor adjustable wire shelving because lights and fans can be attached easily and airflow is not blocked by solid shelf surfaces. All-in-one kits can work, but modular racks are easier to adapt when your process changes.
Plan light coverage shelf by shelf
Do not assume one fixture in the center will cover every tray evenly. Community growers often add a second bar on wider shelves when seedlings lean toward the center.
Power and timers
Multiple lights and fans should be planned as one electrical system. Use appropriately rated timers, power strips and outlets, keep connections away from water and avoid improvised wiring in wet areas.
Airflow and room humidity
Small fans can keep air moving around each shelf, but more trays also add moisture to the room. As you scale, monitor the room rather than assuming rack-level fans solve humidity by themselves.
Leave room for germination
You may need more trays than the number sitting under lights because some crops are germinating under cover while others are in the lit growth stage. Keep that workflow in mind when buying tray counts.
Sources: University of Maryland Extension; recent r/microgreens rack/setup discussions.
Leave a Reply