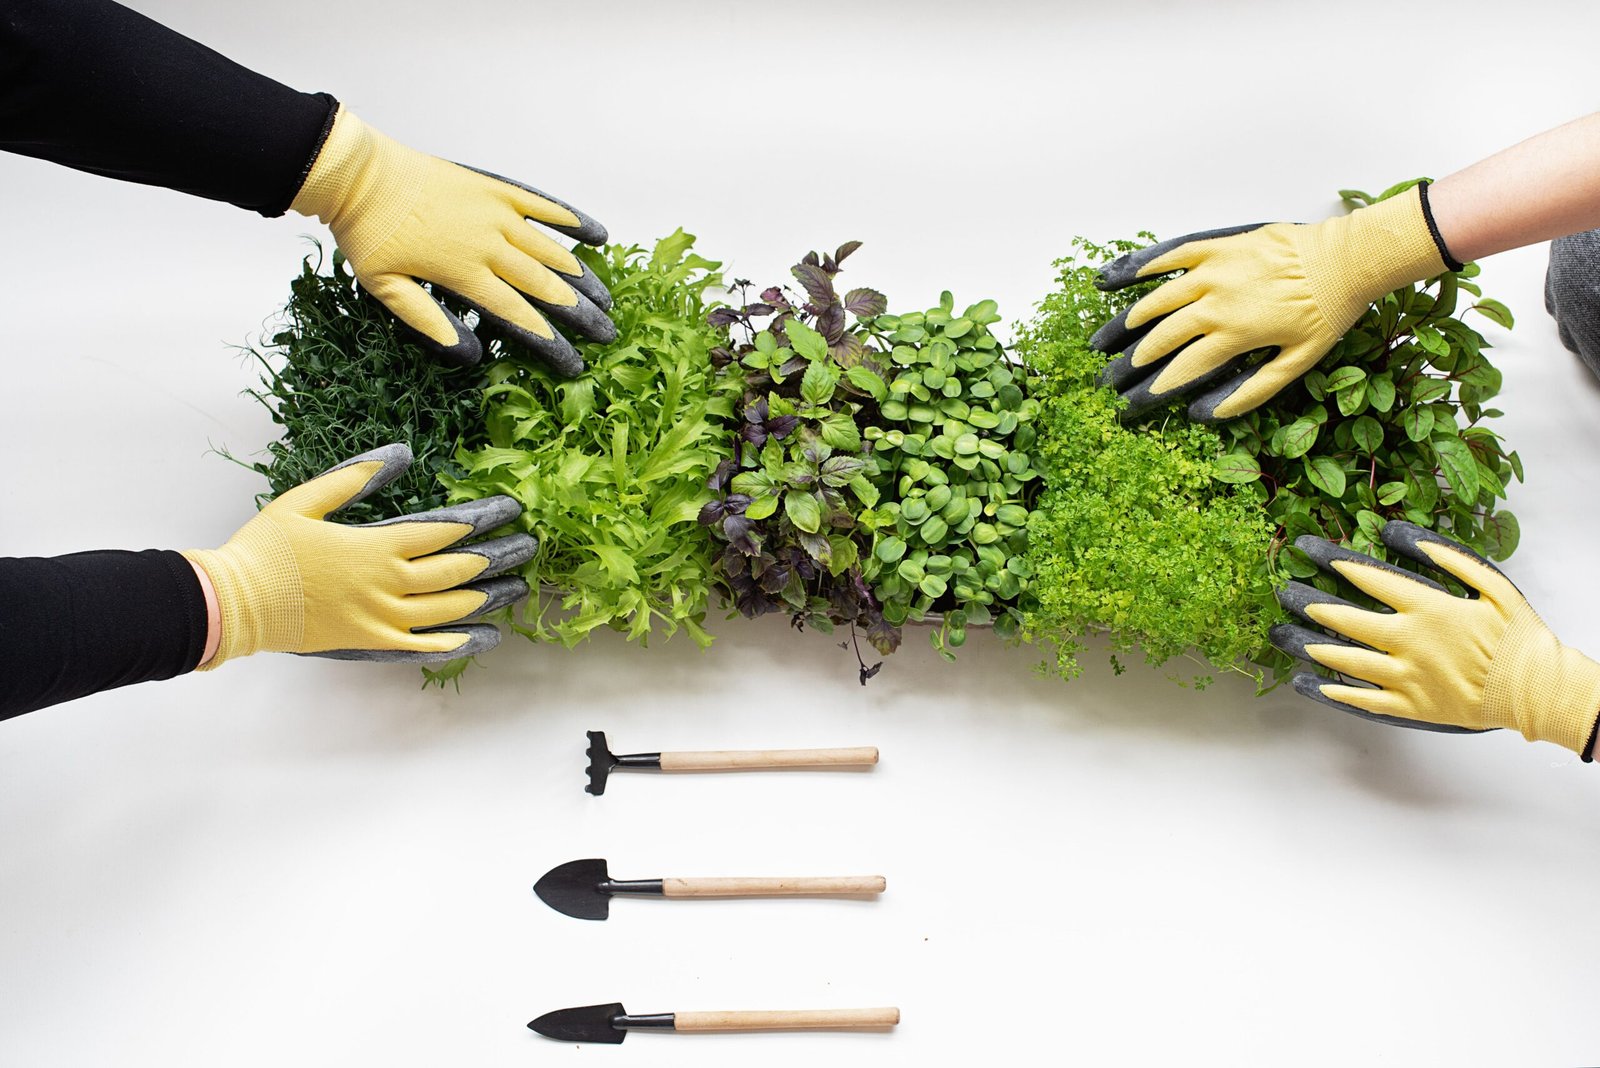
Microgreen trays look simple, but small design differences affect watering, cleanup, durability and how easy the crop is to harvest. The best tray is the one that fits your workflow—not necessarily the most expensive one.
Start with the tray pair
A common system uses one shallow tray with drainage holes nested inside a solid tray that acts as the water reservoir. University of Maryland Extension describes this same two-tray arrangement for commercial microgreen trays.
What to compare
| Factor | Why it matters |
|---|---|
| Depth | Shallower trays make cutting easier; deeper trays can hold more medium and feel sturdier. |
| Drainage | Hole pattern influences how evenly water moves through the tray when bottom watering. |
| Rigidity | Thin trays can flex when wet or loaded with media, making them harder to carry. |
| Nesting | Good fit makes bottom watering easier without the trays binding together. |
| Cleaning | Simple corners and channels are easier to scrub and rinse between crops. |
| Longevity | A reusable tray can justify a higher initial price if it survives many more cycles. |
When cheap trays are enough
If you are learning with one or two trays, inexpensive food-safe containers or greenhouse flats can work. Extension guidance explicitly notes that standard greenhouse flats and food containers are viable options.
When sturdier trays make sense
Durability becomes more important when trays are carried full of wet media, moved on and off racks frequently, or cleaned repeatedly. At that point, rigidity and lifespan matter more than saving a few dollars on the first purchase.
Source: University of Maryland Extension, “Growing Microgreens and Baby Greens Indoors.”
Leave a Reply