Blog

  • How Long Do Microgreens Last in the Fridge?

    How Long Do Microgreens Last in the Fridge?

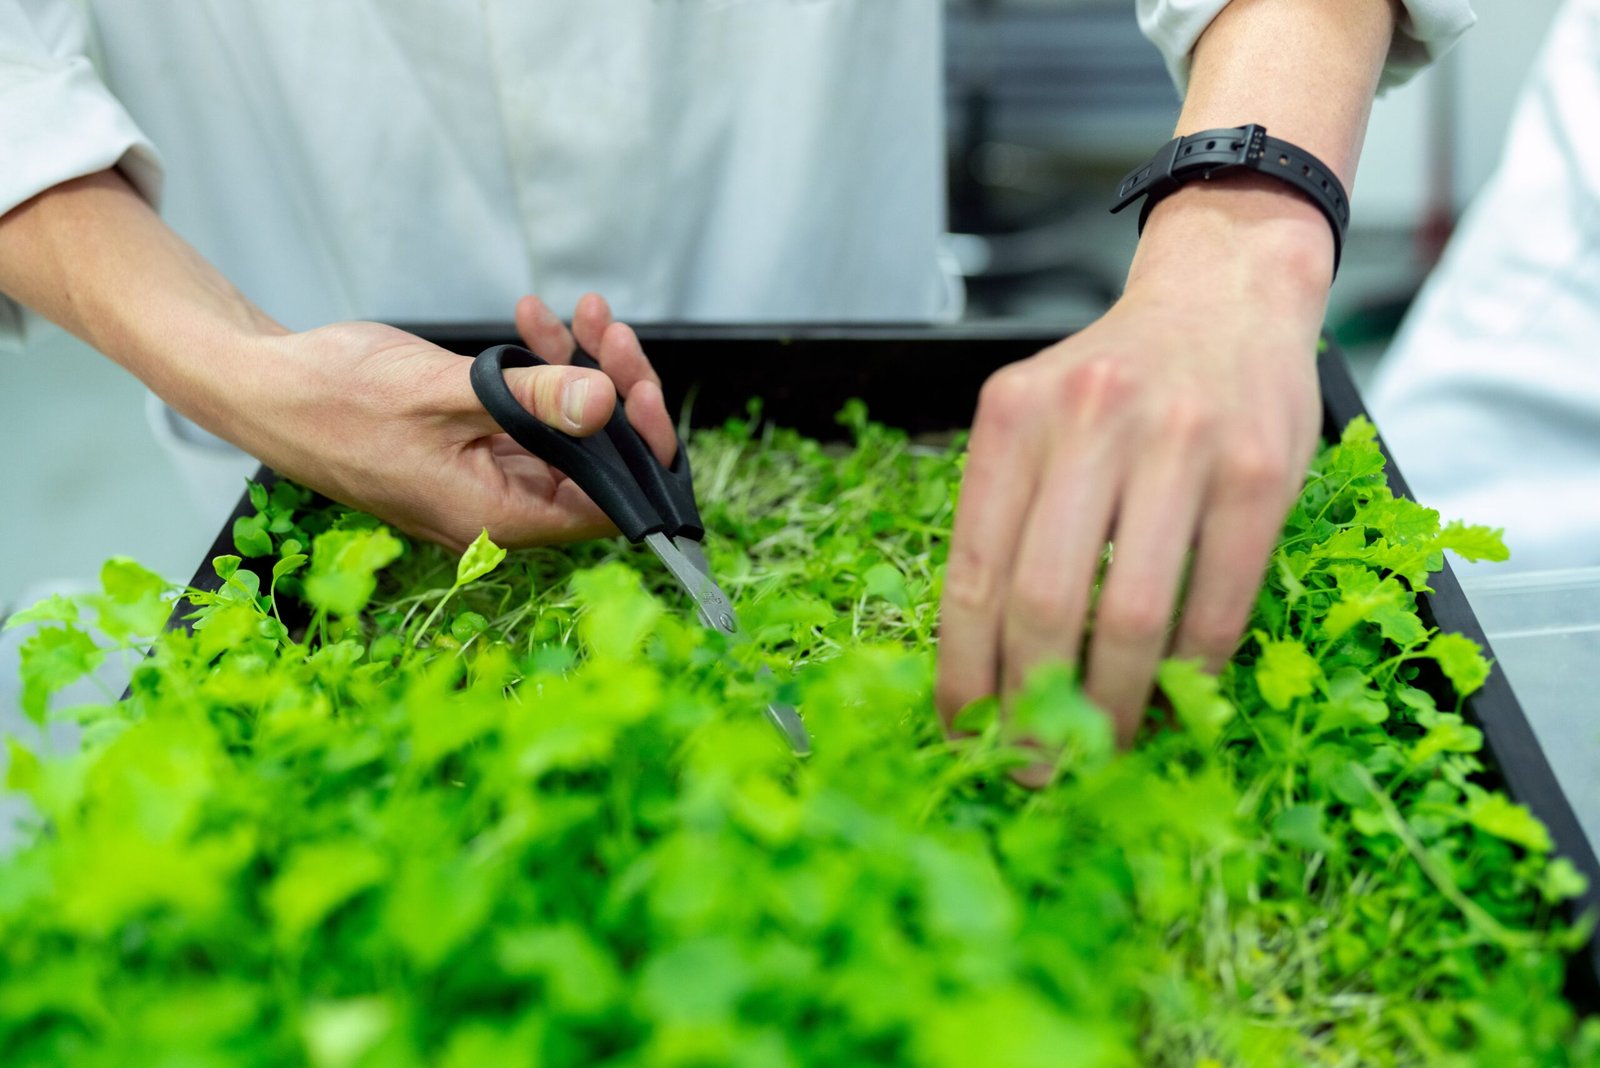
    Microgreen shelf life is not one fixed number. Crop type, harvest cleanliness, surface moisture, packaging, refrigerator temperature and how much the greens were handled all influence how long quality lasts.

    Dryness at storage is critical

    Free water on leaves accelerates quality loss and can support microbial growth. Harvest when the canopy is reasonably dry and avoid sealing dripping-wet greens into a container.

    Cool quickly

    Freshly cut greens continue respiring after harvest. Refrigerating them promptly slows deterioration. Keep storage temperature consistent and avoid leaving harvested trays or containers warm for extended periods.

    Use clean packaging

    A clean food-safe container protects greens from crushing and contamination. Do not pack so tightly that delicate leaves are bruised.

    Different crops age differently

    Sturdy radish, pea shoots and sunflower do not behave exactly like delicate amaranth or basil. A crop that looks excellent for several days in one system may decline sooner in another.

    Discard when quality or safety is questionable

    • Slimy leaves or stems
    • Strong off odors
    • Visible mold
    • Excessive condensation paired with breakdown
    • Leaves that are badly wilted or decomposing

    For commercial growers

    Validate shelf life for your own crop, packaging and cold chain rather than printing an aggressive date based only on someone else’s experience. Food-safety rules and labeling requirements may also apply depending on where and how you sell.

    Related: How to Harvest and Store Microgreens.

    Sources: Penn State Extension; University of Maryland Extension; general postharvest produce-handling guidance.

  • Best Water for Microgreens: Tap, Filtered, or Distilled?

    Best Water for Microgreens: Tap, Filtered, or Distilled?

    Most home growers do not need specialty water to grow microgreens. If your tap water is safe to drink and performs well with houseplants and seedlings, it is usually a reasonable place to start.

    Tap water

    Tap water is convenient, inexpensive and typically treated for drinking-water safety. Its mineral content and alkalinity vary by location, so growers with very hard water or recurring crop issues may benefit from testing.

    Filtered water

    A household filter may improve taste and reduce certain compounds, but not every filter changes hardness, alkalinity or dissolved salts. Know what the filter is designed to remove before assuming it solves a plant problem.

    Distilled or reverse-osmosis water

    Very low-mineral water gives growers more control in hydroponic nutrient systems, but it is rarely necessary for a simple tray grown in potting mix. When nutrients are added, low-mineral water can be useful because the starting chemistry is more predictable.

    When to investigate your water

    • White mineral crust repeatedly builds on trays or media.
    • Several unrelated crops show the same growth problem.
    • Your well water is high in salts or iron.
    • You are using a nutrient solution and readings drift unpredictably.
    • Local water reports show unusually high dissolved mineral levels.

    Food safety still matters

    Use water from a safe source for growing and postharvest handling. Water that contacts harvested food should meet appropriate potable-water expectations.

    Related: Microgreens pH Guide and Microgreens Food Safety Basics.

    Sources: Penn State Extension food-safety guidance; university horticultural water-quality guidance.

  • Microgreens pH Guide: Does Water pH Matter?

    Microgreens pH Guide: Does Water pH Matter?

    Water pH can matter in microgreen production, but it is easy to overmanage. A short crop grown in a buffered potting mix is less sensitive to small pH swings than a hydroponic system where roots rely directly on the solution for mineral availability.

    Start by knowing your system

    In soil or compost-based media, organic matter and mineral components provide buffering. In inert media such as some mats or coco systems, irrigation water and nutrient solution play a larger role.

    Do not adjust pH just because a meter gives you a number

    The useful question is whether your water quality is causing an actual crop problem. Before adding acids or bases, verify the meter, test consistently and consider alkalinity as well as pH. Two water sources with the same pH can behave differently because their buffering capacity differs.

    When testing is most useful

    • You grow hydroponically or in a very low-buffer medium.
    • You add fertilizer or nutrients to irrigation water.
    • You use well water with high mineral content.
    • You repeatedly see nutrient-like symptoms across multiple crops.
    • You are scaling into a commercial system and need repeatability.

    For beginners, prioritize the bigger variables first

    Seed quality, moisture, light, airflow, sanitation and temperature usually create more obvious first-order problems than a slightly imperfect water pH in a short soil-based crop.

    Keep records before making adjustments

    If you do change water chemistry, record the starting value, adjustment and crop response. Avoid chasing a target from another grower’s system without matching their medium and water source.

    Related: Best Growing Medium for Microgreens and Do Microgreens Need Fertilizer?.

    Sources: university controlled-environment agriculture guidance; Penn State Extension; general horticultural water-quality principles.

  • How to Remove Seed Hulls From Microgreens

    How to Remove Seed Hulls From Microgreens

    Seed hulls clinging to cotyledons are common in sunflower, radish, brassicas and many other microgreens. They are usually more of a quality and appearance problem than a growing failure, but heavy hull retention can make harvest and washing more tedious.

    Why hulls stay attached

    The hull normally softens during germination and falls away as leaves expand. Dry germination conditions, uneven moisture or a seed coat that was not fully hydrated can make it cling longer.

    Keep germination evenly moist

    Consistent moisture helps soften seed coats. This is one reason large seeds are often soaked before sowing and why covered germination works well for many crops.

    Let leaf expansion do part of the work

    Moving a healthy crop into light and allowing cotyledons to open often sheds many hulls naturally. Do not rush to pick every hull by hand the moment the tray emerges.

    Use gentle brushing only when the crop can handle it

    Once seedlings are sturdy, a very gentle pass of your hand over the canopy can loosen dry hulls. Delicate crops should be handled carefully because removing a hull is not worth damaging the growing tip.

    Avoid soaking the canopy late in the grow just to remove hulls

    Wet leaves at the wrong time can increase postharvest moisture and disease pressure. Focus on good germination technique first; remove remaining loose hulls during clean harvest and sorting.

    Related: Should You Soak Microgreen Seeds? and Harvest and Storage Guide.

    Sources: University of Maryland Extension; Penn State Extension; crop-production practice.

  • Microgreens Not Germinating? 8 Things to Check

    Microgreens Not Germinating? 8 Things to Check

    Patchy germination wastes seed and creates an uneven canopy. The cause is often a basic variable that can be isolated with a simple checklist rather than a complicated treatment.

    1. Seed quality

    Old, damaged or poorly stored seed can lose vigor. Check the lot, storage conditions and intended use, then run a small germination test if performance is questionable.

    2. Uneven moisture

    Dry patches can stop germination while saturated pockets can reduce oxygen and encourage rot. Pre-moisten the medium evenly and level the tray before sowing.

    3. Poor seed-to-media contact

    Seed sitting loosely on an irregular surface may hydrate unevenly. Gently pressing or using an appropriate cover can improve contact without burying tiny seed too deeply.

    4. Temperature

    Germination speed changes with temperature. A room that is much colder than the crop prefers can produce slow, uneven emergence even when the seed is viable.

    5. Sowing depth

    Most microgreens are surface-sown or only lightly covered. Tiny seeds buried too deeply may struggle to emerge.

    6. Crop-specific soaking needs

    Large seeds such as peas and sunflower often benefit from pre-soaking, while many small seeds do not.

    7. Old or contaminated growing media

    Media that drains poorly, has been stored wet or carries heavy biological growth can make germination less predictable.

    8. Expecting every crop to behave the same

    Amaranth, basil, cilantro and large-seeded crops do not germinate on the same timeline. Compare the tray with crop-specific guidance before declaring it a failure.

    Next: use the Seed Buying Guide and Grow Log to isolate variables across batches.

    Sources: Penn State Extension; University of Maryland Extension; Virginia Cooperative Extension.

  • Why Are My Microgreens Leggy? How to Grow Stronger Stems

    Why Are My Microgreens Leggy? How to Grow Stronger Stems

    Tall microgreens are not automatically better microgreens. Excessively long, thin stems that flop or lean usually mean the crop has stretched in search of light or has been encouraged to elongate longer than needed.

    Weak light is the first suspect

    Seedlings stretch when light intensity is inadequate. Move the light closer within the fixture manufacturer’s safe operating range, improve coverage, or reduce the number of trays sharing a weak light source.

    Blackout may have gone too long

    A brief blackout period can be useful for certain crops when additional stem length is desired. Extending it too far produces fragile stems and delays normal leaf development. Once the crop reaches the height you want, move it into light.

    Crowding can exaggerate stretch

    Very dense sowing increases competition for light and air. Seedlings may grow thin and vertical while moisture remains trapped inside the canopy. Reducing seed density can improve both stem quality and airflow.

    Watch temperature and airflow

    Warm, stagnant growing areas can intensify weak growth. Gentle air circulation helps the canopy exchange moisture and encourages sturdier development without blasting tender stems.

    How to correct the next tray

    • Use a repeatable seed density.
    • Bring the crop into light on time.
    • Provide even coverage across the entire tray.
    • Keep gentle airflow around—not directly into—the canopy.
    • Avoid oversaturating the growing medium.

    Related: Blackout Period Guide, Grow Lights Buying Guide, and Seed Density Guide.

    Sources: University of Maryland Extension; Penn State Extension.

  • Why Are My Microgreens Yellow? Common Causes and Fixes

    Why Are My Microgreens Yellow? Common Causes and Fixes

    Yellow microgreens are not always a failure. Seedlings kept in darkness naturally emerge pale because they have not yet produced much chlorophyll. The important question is whether they green up after receiving adequate light.

    Normal yellowing after germination or blackout

    Crops coming out from under a cover can look yellow, cream or light green. Once exposed to appropriate light, healthy seedlings often begin greening within hours and continue deepening in color over the next day or two.

    Weak or uneven light

    If seedlings remain pale, stretched or lean strongly toward one direction, light may be too weak or uneven. A grow light that is too far from the canopy can produce the same problem as a dim window.

    Excess moisture and root stress

    Roots need oxygen as well as water. Constantly saturated media can stress the crop, reduce root function and increase disease pressure. Keep media moist but allow drainage, especially after roots are established.

    Nutrient issues are less common in very short crops

    Many fast microgreens complete their first harvest using reserves stored in the seed plus a modest growing medium. Longer or slower crops may show nutrient limitations, but do not jump straight to fertilizer before checking light, moisture and roots.

    A quick diagnostic order

    1. Ask whether the tray just came out of darkness.
    2. Check whether the whole canopy receives even light.
    3. Inspect media moisture and drainage.
    4. Look for stem collapse, odor or spreading fuzzy growth.
    5. Compare the problem with another tray grown under the same conditions.

    Related: Do Microgreens Need Grow Lights? and Do Microgreens Need Fertilizer?.

    Sources: University of Maryland Extension; Penn State Extension.

  • Weighted Germination for Microgreens: When and Why to Use It

    Weighted Germination for Microgreens: When and Why to Use It

    Placing a clean tray or light weight over germinating microgreens is a common technique, especially for larger-seeded crops. The goal is not to crush seedlings. It is to improve seed-to-media contact, hold moisture close to the seed and encourage a strong, even push upward.

    Why pressure can help

    Large seeds can lift away from the growing surface as roots emerge. Gentle, even pressure helps keep them in contact with moist media while roots anchor. It can also create a more level canopy when the tray is sown evenly.

    Crops that commonly respond well

    Peas and sunflower are frequent candidates. Some growers also use modest pressure for radish or other vigorous crops, but the need varies with seed size, media, tray depth and the grower’s germination method.

    How to apply weight safely

    • Use a clean tray that distributes pressure evenly.
    • Keep the amount of weight modest and consistent from grow to grow.
    • Check moisture so the media stays moist without becoming saturated.
    • Remove pressure when seedlings have established and are clearly lifting the cover.
    • Do not leave a struggling or excessively wet tray compressed simply because a schedule says to.

    When not to use heavy pressure

    Tiny or delicate seeds such as amaranth can be damaged or buried by an aggressive weighted setup. Mucilaginous crops also behave differently. Crop-specific needs should override a one-size-fits-all germination routine.

    Pressure is different from blackout

    Weighted germination and blackout are related but separate tools. Weight provides physical resistance and contact. Blackout limits light after germination to encourage additional stem elongation in crops where that is useful.

    Next: see Microgreens Blackout Period for the difference between covered germination and post-germination blackout.

    Sources: University of Maryland Extension; Penn State Extension; common commercial microgreen production practice.

  • Should You Soak Microgreen Seeds Before Planting?

    Should You Soak Microgreen Seeds Before Planting?

    Some microgreen seeds benefit from pre-soaking, but many small seeds do not need it at all. The purpose of soaking is to hydrate larger seeds before sowing so germination begins more evenly—not to make every seed as wet as possible.

    Large seeds are the usual candidates

    Peas and sunflower are the classic examples because their larger, harder seed coats take longer to hydrate. Short soaking periods can help these crops begin germination more uniformly when followed by good drainage and prompt sowing.

    Small brassica seed usually goes straight to the tray

    Broccoli, radish, kale, mustard and cabbage seed is small and hydrates quickly in moist media. Soaking these seeds makes them harder to spread evenly and can encourage clumping. For most home growers, pre-moistened media is enough.

    Mucilaginous seed needs special treatment

    Some seeds form a gel-like coating when wet. Basil is a familiar example. Long soaking can turn these seeds into a sticky mass that is difficult to sow evenly, so they are generally surface-sown onto moist media rather than soaked like peas.

    A practical soaking workflow

    1. Use clean water and a clean container.
    2. Measure the seed before soaking so your density stays repeatable.
    3. Soak only crops that benefit from it.
    4. Drain thoroughly before sowing.
    5. Spread seed promptly and evenly across the tray.
    6. Record the soak time in your grow log so you can compare results.

    Avoid soaking as a cure-all

    Poor germination can also come from old seed, uneven moisture, low temperature, weak seed-to-media contact or a poor-quality lot. If a crop repeatedly performs badly, test a small seed sample before assuming the solution is a longer soak.

    Related: Microgreens Seed Buying Guide and Seed Density Guide.

    Sources: Penn State Extension; University of Maryland Extension; Virginia Cooperative Extension.

  • How Often Should You Water Microgreens?

    How Often Should You Water Microgreens?

    Microgreens do not need water on a fixed clock. A tray may need very little during covered germination, then noticeably more once roots fill the medium and the canopy begins transpiring. The most reliable routine is to check the crop and the tray rather than watering automatically.

    Use moisture, tray weight and crop stage together

    University of Maryland Extension recommends keeping microgreen media moist but not saturated. In practice, that means the surface should not remain swampy and the lower tray should not hold standing water for long periods. Lift the tray, look at the medium, and notice whether seedlings are beginning to lose firmness before deciding to add more water.

    During germination

    Covered trays lose water more slowly because humidity stays high beneath the lid or upper tray. Start with evenly pre-moistened media and add only enough water to prevent the surface from drying. Oversaturating at this stage can reduce oxygen around roots and create favorable conditions for disease.

    After roots are established

    Once roots reach through the drainage tray, bottom watering is usually the cleanest approach. Add a modest amount to the solid lower tray and allow the medium to wick it upward. If water remains after the crop has had time to absorb what it needs, reduce the amount next time.

    What changes water demand?

    • Crop size and growth rate
    • Tray depth and growing medium
    • Room temperature and relative humidity
    • Air movement from fans
    • Light intensity and photoperiod
    • How dense the crop was seeded

    Signs a tray may be too dry

    • Leaves or stems lose firmness before the normal dark period
    • Tray feels unusually light
    • Medium pulls away from tray edges
    • Outer edges wilt before the center

    Signs you may be watering too much

    • The tray stays heavy for long periods
    • Water remains standing in the lower tray
    • Media surface remains glossy or saturated
    • Mold, algae or stem-collapse pressure increases

    Next: review How to Bottom-Water Microgreens and the Temperature and Humidity Guide.

    Sources: University of Maryland Extension; Penn State Extension.